


 Home
Home
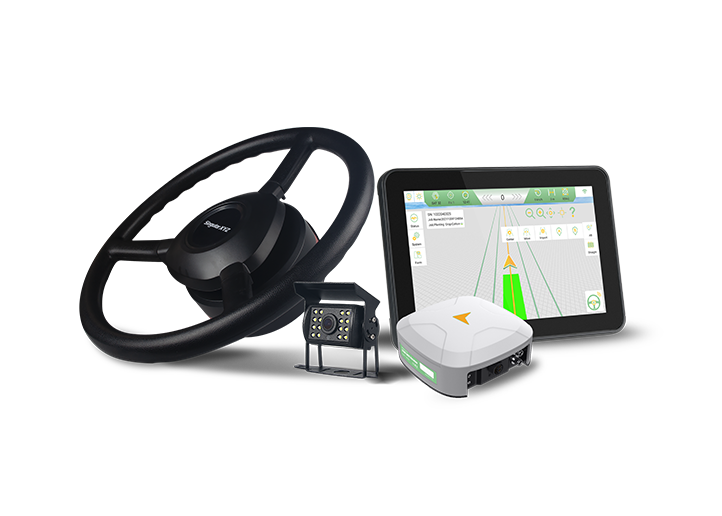
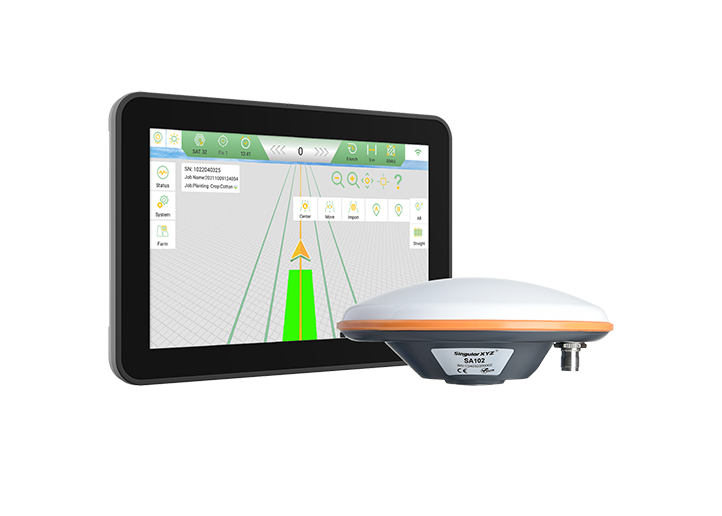
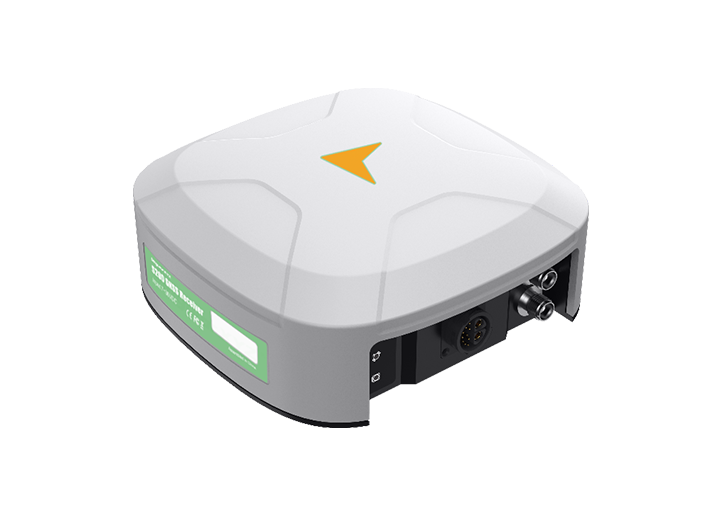
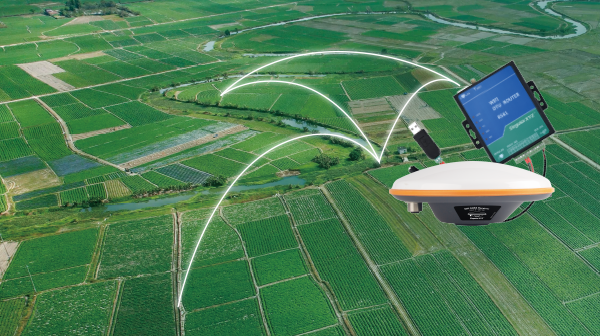
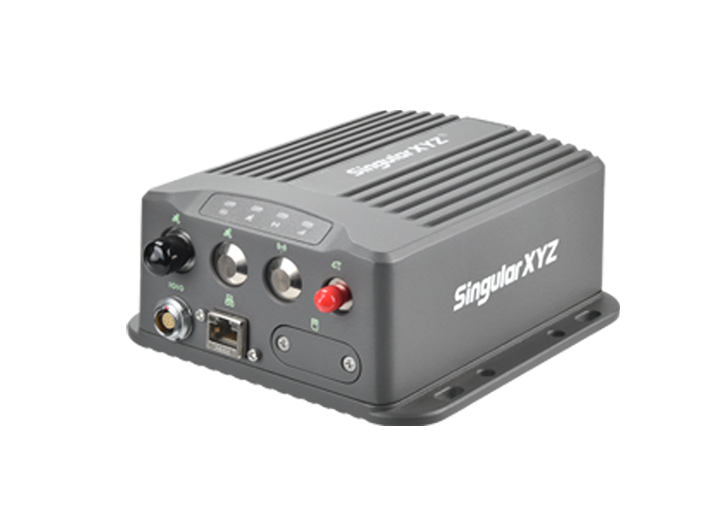
SAgro200
Auto-Steering System
Auto-Steering System
learn more


 2026-05-12
 Kimberly


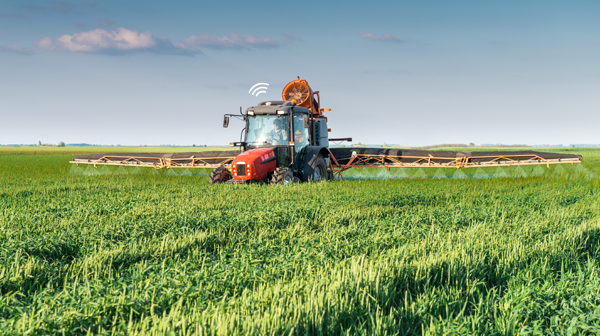
During daily auto-steering operations, agricultural implements such as seeders, sprayers, plows, and harvesters are commonly attached to the vehicle. To ensure accurate guidance and proper field operation, implement parameters need to be configured correctly in the Precision AG software.
This blog introduces the main implement parameter settings in SAgro200 auto-steering system software - Precision AG and explains how each parameter affects field operations.
Open Precision AG, then go to:
System >>> Implements >>> Setting
to enter the implement parameter settings interface.

Tap Implement in use to open the implement list.
Here, you can:
Select an existing implement
Create a new implement profile for different operation scenarios
Creating separate profiles helps improve efficiency when switching between implements in daily operations.

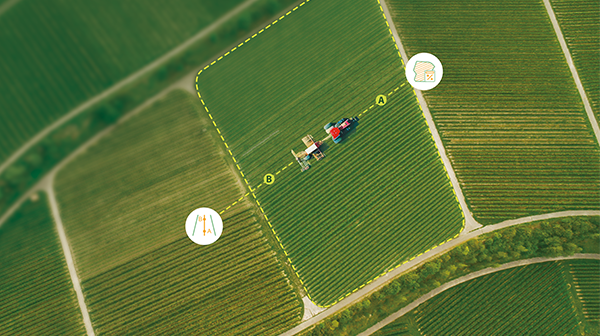
After selecting an implement, you will see four main parameters available for configuration: a, b, c, and d.

This parameter defines the effective working width of the implement.
In most cases, it should be measured at the implement’s maximum operating width:
For sprayers, this is typically the distance between the outermost nozzles when the boom is fully extended
For plows or ridgers, this corresponds to the actual working width during operation
Correct implement width settings help ensure accurate coverage and guidance path generation.
Row spacing refers to the distance between adjacent rows.
Depending on the operation type, this value may represent:
Crop row spacing
The spacing between working sections of the implement
Proper row spacing settings help maintain consistent operation patterns in the field.
This parameter defines the longitudinal distance between the vehicle and the implement.
In most standard configurations, this value is typically set to 0 unless a specific offset exists in the installation structure.
Implement offset defines whether the implement is aligned with the vehicle centerline.
If the implement is mounted symmetrically, the offset value should be set to 0
If the implement is shifted to the left or right side, the corresponding offset direction and value should be configured
This parameter can also be fine-tuned later using the Correction function.
The software also allows configuration of Job Type and Crop Type, mainly for operation management and record identification.
The available Job Types are: Mixed Planting, Field Transportation, Mulching, Straw Management, Banding, Harvesting, Fertilizing, Rotary Tillage, Deep Tillage, Transplanting, Leveling, Bulldozing, Ridging, Intertillage, Subsoiling, Harrowing, Ploughing, Trenching, Spraying, and Sowing.
The available Crop Types are: Carrot, Yam, Sunflower, Peanut, Beet, Pepper, Forage, Rice, Soybean, Potato, Sugarcane, Tomato, Stevia, Grape, Corn, Wheat, and Cotton.
Please note: These job and crop types serve merely as labels. They don’t affect the algorithm's processing.
Proper implement parameter configuration is important for achieving accurate guidance and stable field operations in Precision AG. By correctly setting implement width, spacing, and offset parameters, users can improve operational consistency and reduce overlap or missed areas during field work.
In the next blog, we will introduce the Implement Correction function and explain how to further fine-tune implement alignment in practical applications.